At first i wanted to analyse the final with a video, but it was complicated and because i got recked by my video recorders (OBS crashed, and Bandicam is limited to 10 minutes), i gave up. And i decided that i will review it on paper.

Shawn (72 pillars) is facing Michael (Thunderknights).
Since I am lazy I will call them with their deck's name.
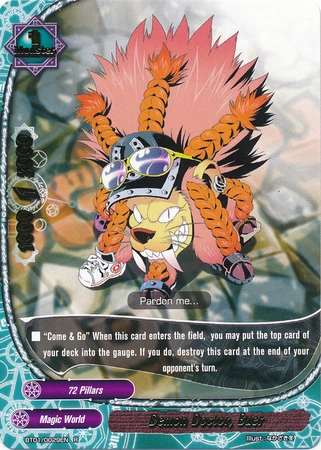
72 pillars begins with Buer. This is the best play for a turn 0, Buer help you set up your next turns, and your opponent will have to attack him turn 1.
If you call Buer on another turn than the very first turn, you have to call other monster on the left and right. This is because you need to maximise the attack output. Your opponent can capitalyze on it. If he only has two attacks available, he can just attack the monsters on the side. And Buer will kill himself at the end of the turn, which is a -0,5 (you gain one gauge, and loose a monster).
Thunderknight call Bastard sword, and hit twice with him.
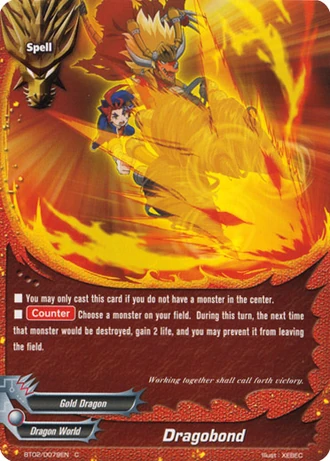
72 pillars now call Belial, with it's effect he tries to get ride of Bastard sword, but Thunder knight protect his monster with DragoBond.
72 pillars begins his attack phase, and Thunder knight decides not to move Bastard sword. There is no need to move him when he has 11 lifes.
Belial attacks TK dirrectly. I think this is a mistake. Bastard sword is a big thread that you
have to deal with. 72p had a Check it and Asmodai in hand and wanted to destroy the Bastard sword with him. Knowing that, i would still go for Bastard sword.
Later in the game, he will cast Check it out and call Asmodai. This is why he did not attacked Bastard-Sword already. Still, you have to grind your opponent first, you cannot bruteforce a Dragon world. They have too much defensive options (Blue/Green dragon shield, Dragobond). Especially when it is Thunder knight where 90% of the monster will serve as human shield when the player's life becomes dangerously low.
 The only situation where I would ignore the monster is when i have hight critical, low power monsters (3+ crits, and too few power to defeat the monster alone).
Thunder knight blocks the second attack with a blue dragon shield. I don't understand why he did that. Hewould have dropped to 7 lifes which is still enought to not be threaten by a link attack with Abracadabra.
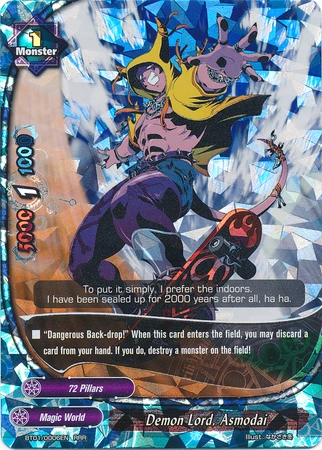
He now equip himself with Sunfist. He attacks Belial with it. 72p counters with Check it out, call Asmodai and tries to destroy Bastard sword.
TK answers with Dragobond. Cleverly, 72p decides not to resolve the effect, and does not pay the cost.
Asmodai get then destroyed by Bastard sword.
72 pillars is now the back against the wall. He has to call Paimon to the center to protect himself.
Thunder knight attacks Paimon with Sunfist and hit his opponent twice with Bastard Sword which drops 72p at 2 lifes.
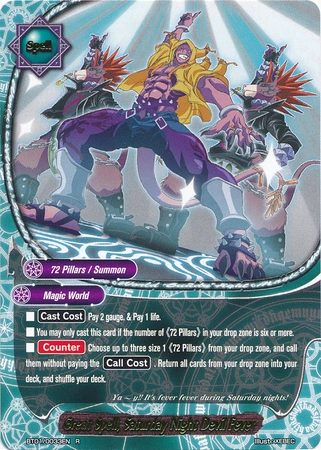
If you cast SNDF during you battle phase, you gain :
-A tactical advantage : the Move timing is during the beggining of the battle phase, and only at that time. You can cast SNDF after your opponent decides weither or not he decides to move. You can now decide accordingly which monster you want to call.
-Also in this precise game, if Thunder knight decides to move the Bastard Sword, 72p can safely use his Asmodai because Dragobond can no longer be cast as an answer.
With SNDF, he calls Asmodai, Eligos (for the buddygift), and Marchoisias (3 crits). TK answers to Asmodai with a THIRD dragobon. 72p finally get ride of him with an attack, but it is too late.
TK calls Halberd and Archer, and swings for game
Michael and his Thunder knight is now leading 1-0. The second round can be found here.
Aucun commentaire:
Enregistrer un commentaire